
Now time for the purlin pipe. This kit came with three runs of purlin. The center run sits on the top of the high tunnel. My husband had a great idea to use clamps as guides to slide the pipe over the bows as I stood in the forklift basket pushing the pipe along the bows. Together we attached 2" straps to the underside of the bows to secure the purlin in place. 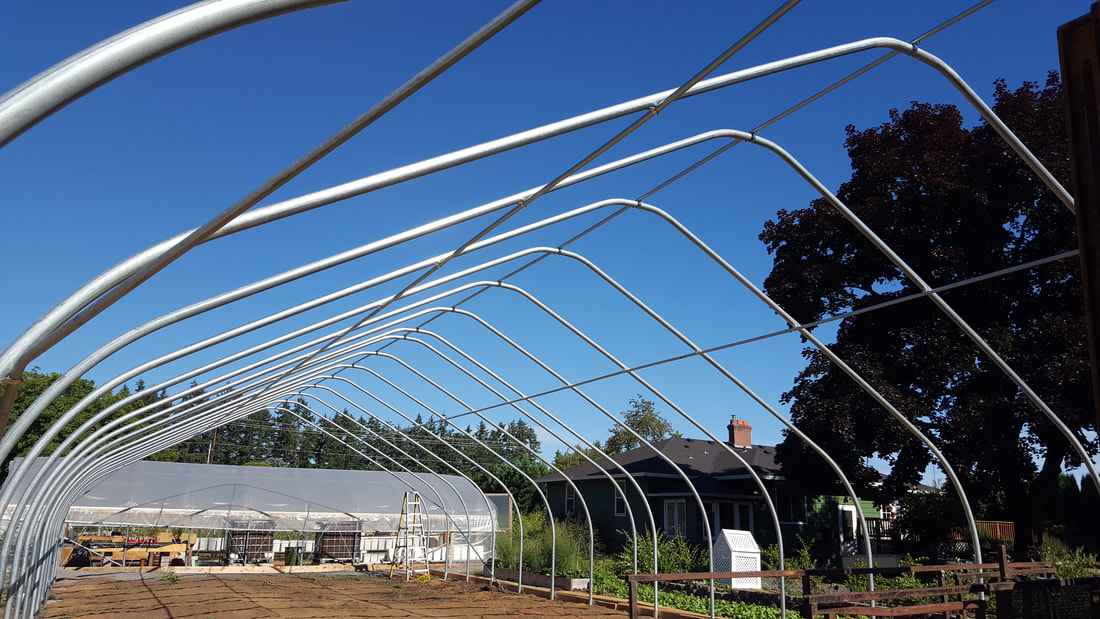 After the center purlin was in place, we then moved onto the side purlin. These were installed on the underside of the bows seven feet down. using 1" straps. 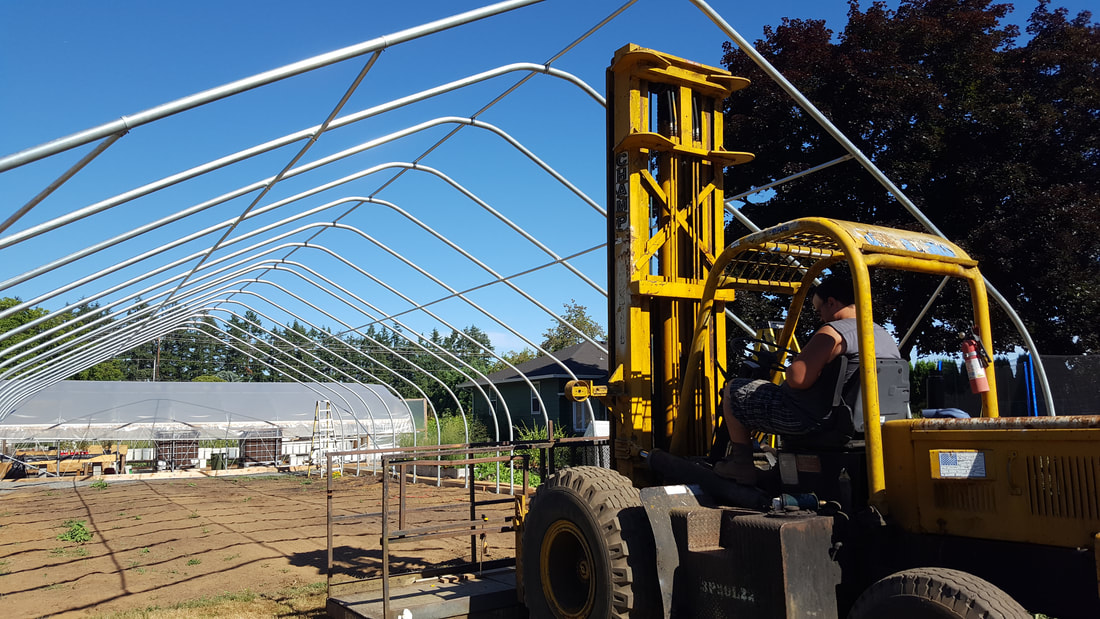 Oh, the handy forklift and basket made this job so much easier than if we had to use ladders. The forklift was just short enough to make it down the center run of the high tunnel.
0 Comments
There are 16 bows in this kit in which we had to attach two sections together on the ground. Luckily we had a little extra hand from the forklift to set the bows in place. We had to redrill a few holes in the ground posts to get everything lined up but overall it went smoothly. 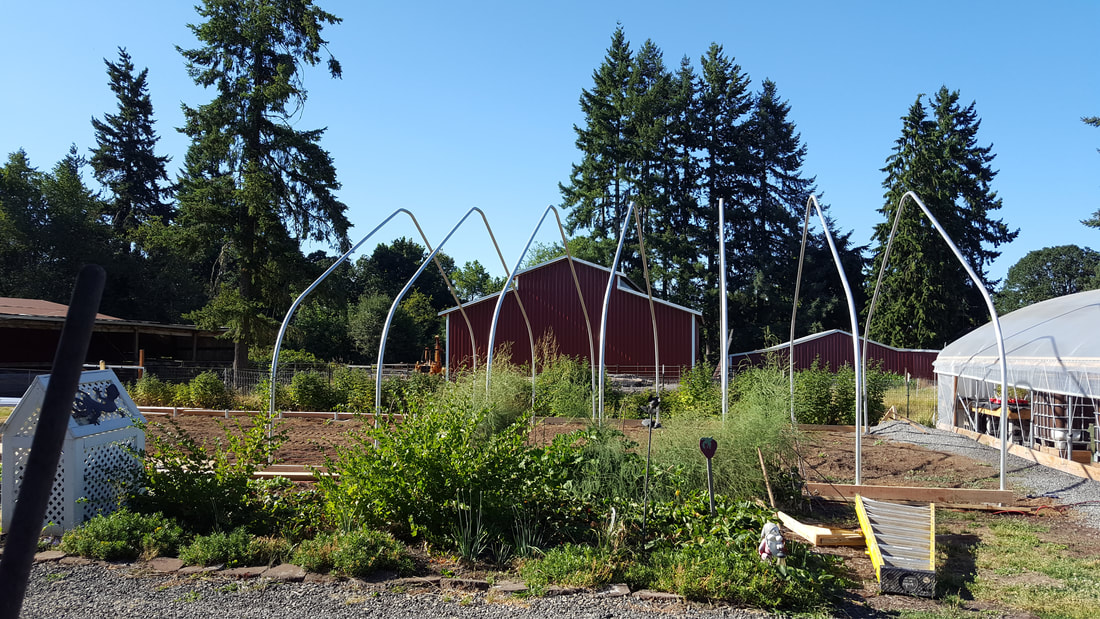 We worked backwards out of the high tunnel to make sure everything went in smoothly.  It always seems to take us more time to do things than we think it should. However, squaring up your structure is one of the most important steps so going too fast through this process won't gain any time, only headaches. Needless to say, do it right before moving forward.  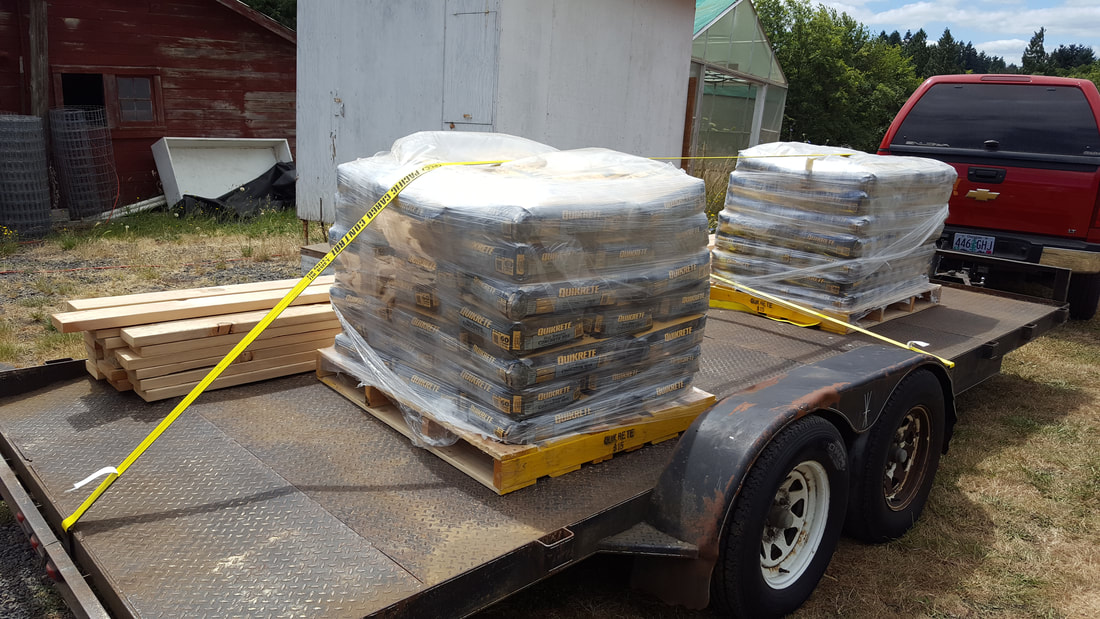 Two pallets of concrete and 2"x 6" fir boards for the base and hip boards. Felt good to support our local lumber yard. The trailer was sure weighted down. 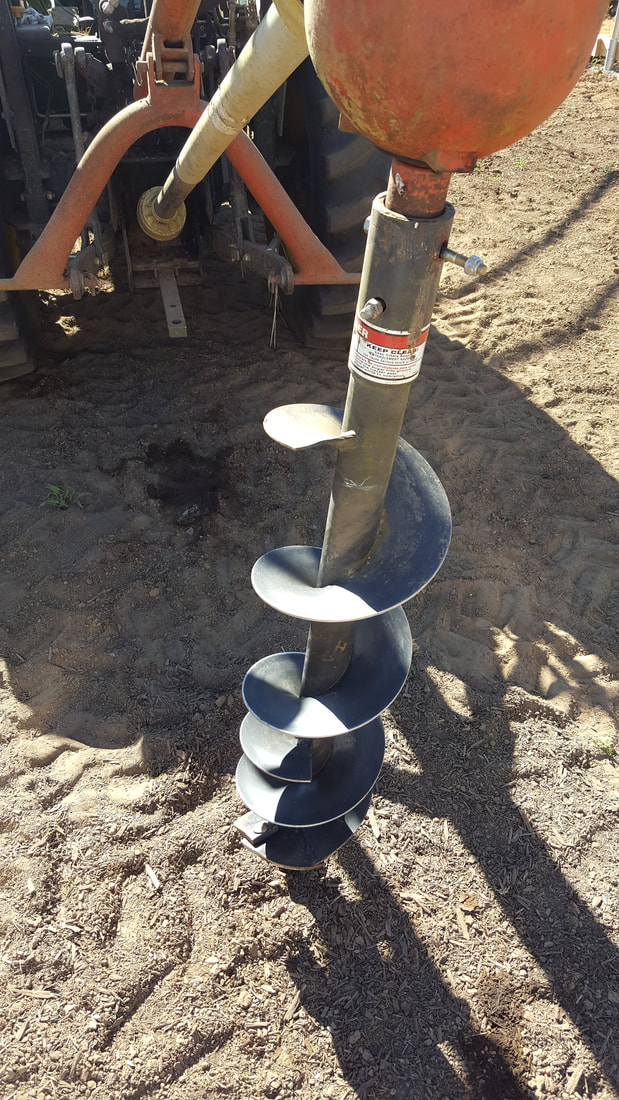 A 9" auger made short work out of the 32 holes that needed to be dug. 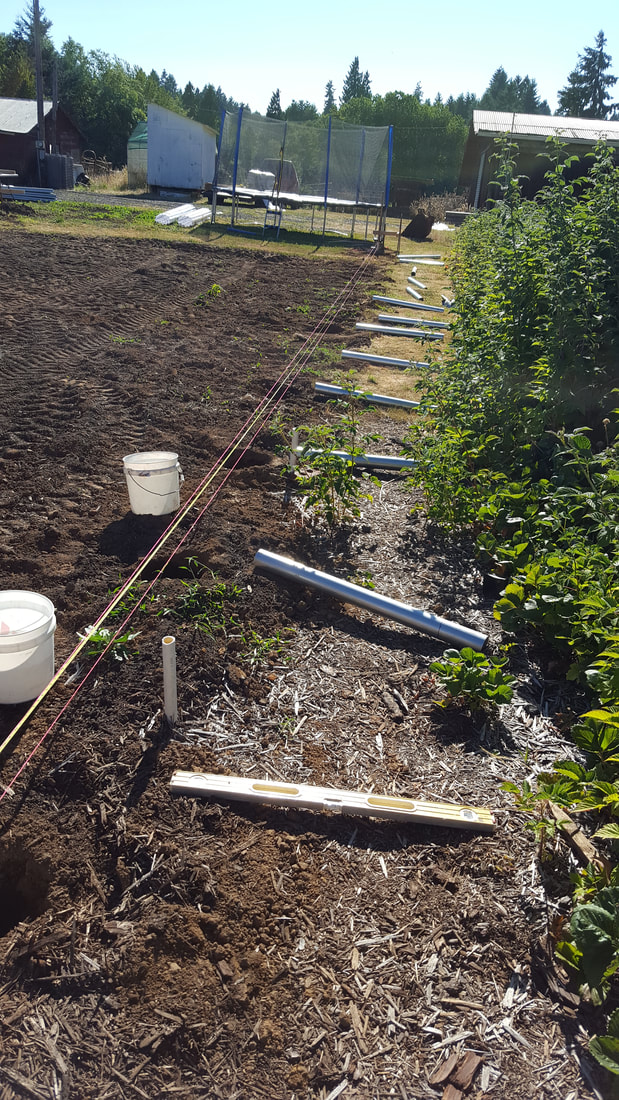 We had the help of our two girls yet again. They marked each ground post at the appropriate spot to ensure there would be 6" of pipe sticking out of the ground. Then they placed them next to each hole for easy installation. 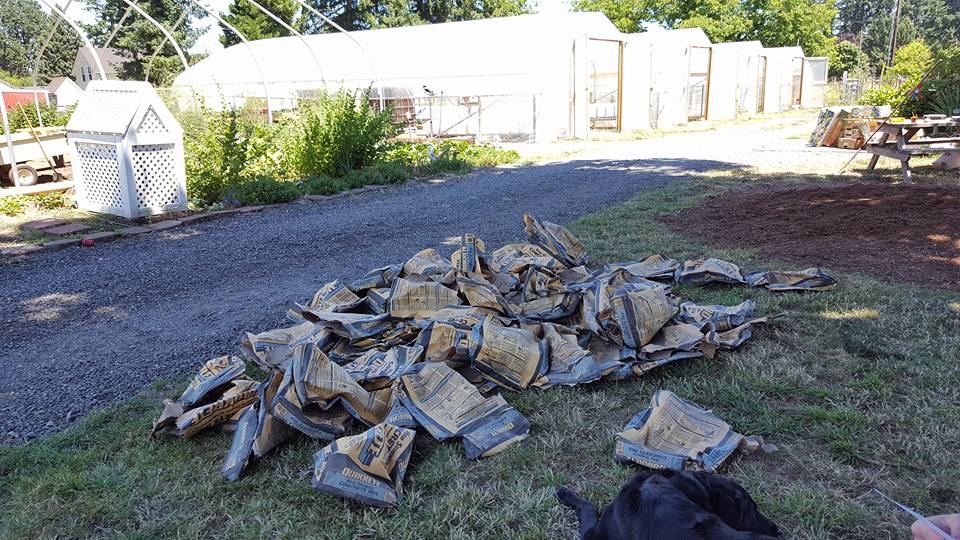 Since the structure is so tall (and the manufacturer requires it) we added concrete to each post. Oh pile of concrete bags...
|
Archives
July 2017
Categories |
 RSS Feed
