|
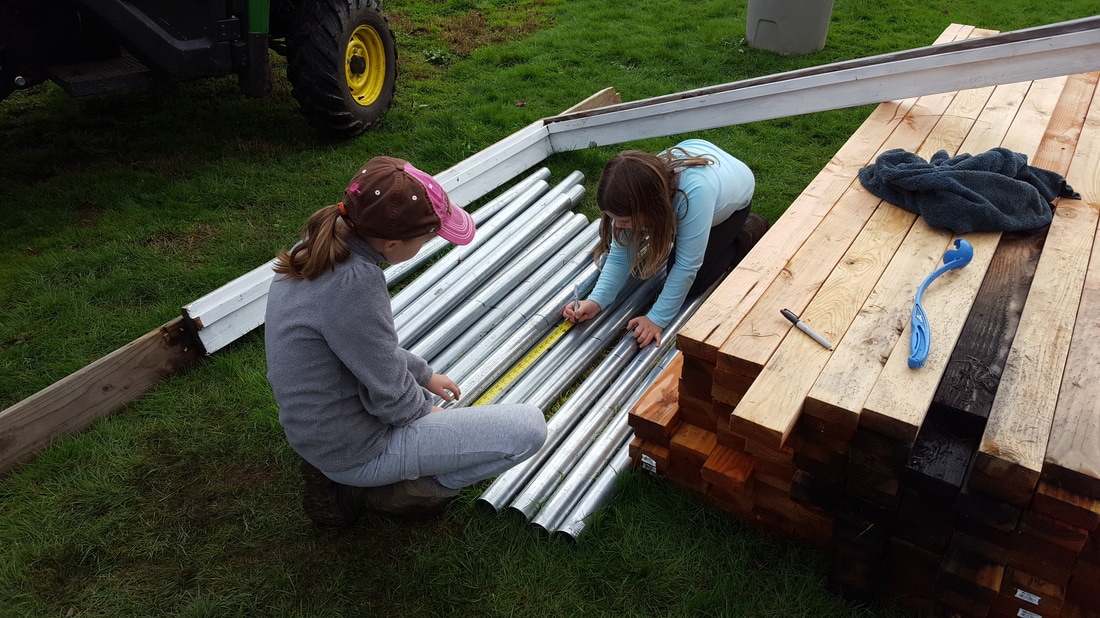
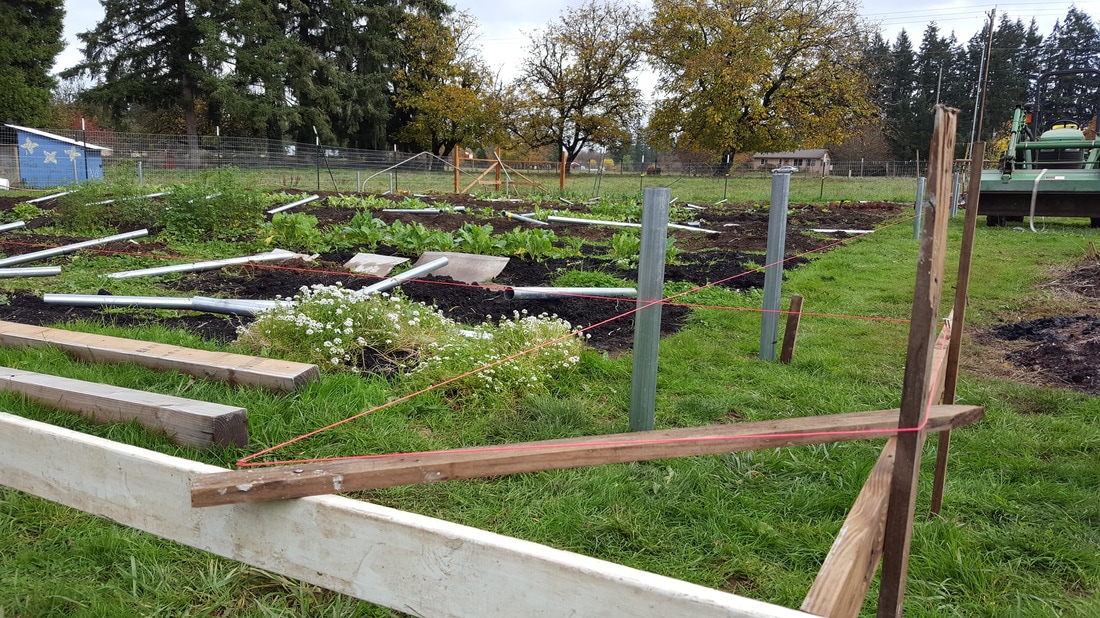
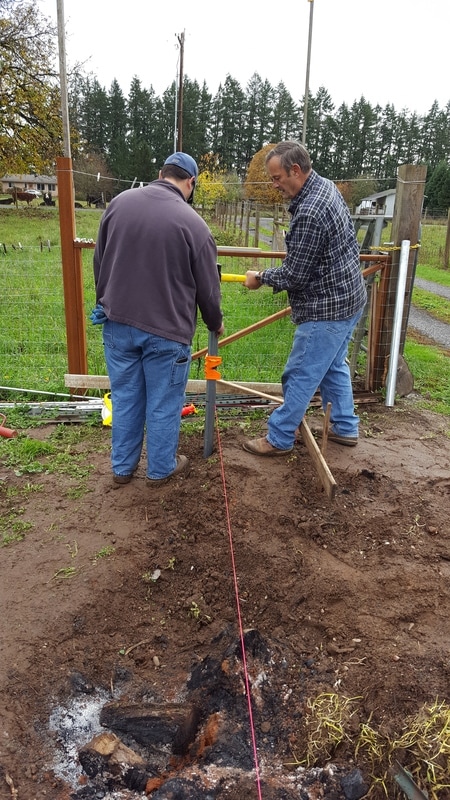
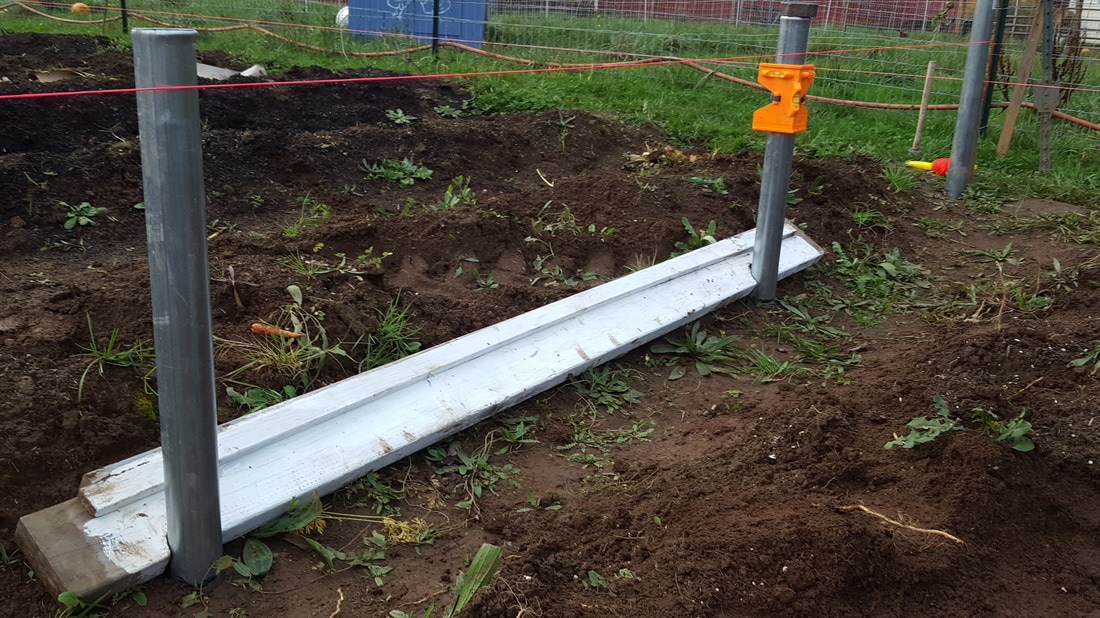
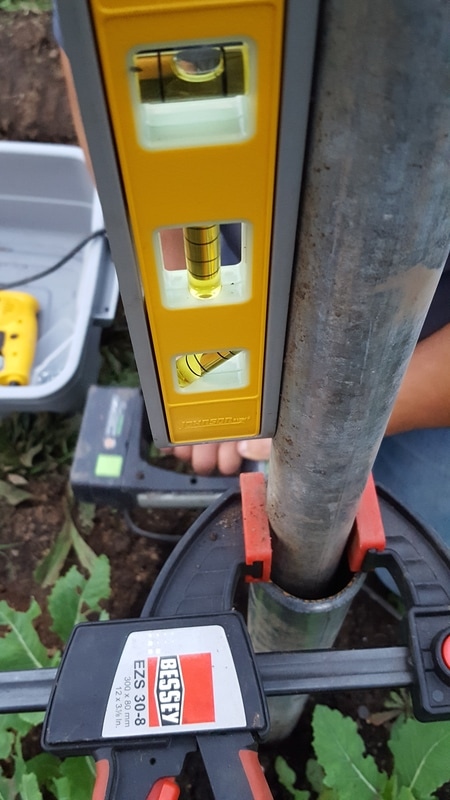
The girls were amazing helpers today working together to mark our ground posts. Each four foot post was marked at two feet to ensure equal depth when we drove them into the ground. As I was told many times during this build, "it is very hard to work around crops that are still growing." However, we had an amazingly warm fall. This made for easy driving of the posts into the ground, but in turn an extended growing season for many plants. Anyhow, all the posts are divided between four greenhouses. Twenty posts per greenhouse with five feet between posts. 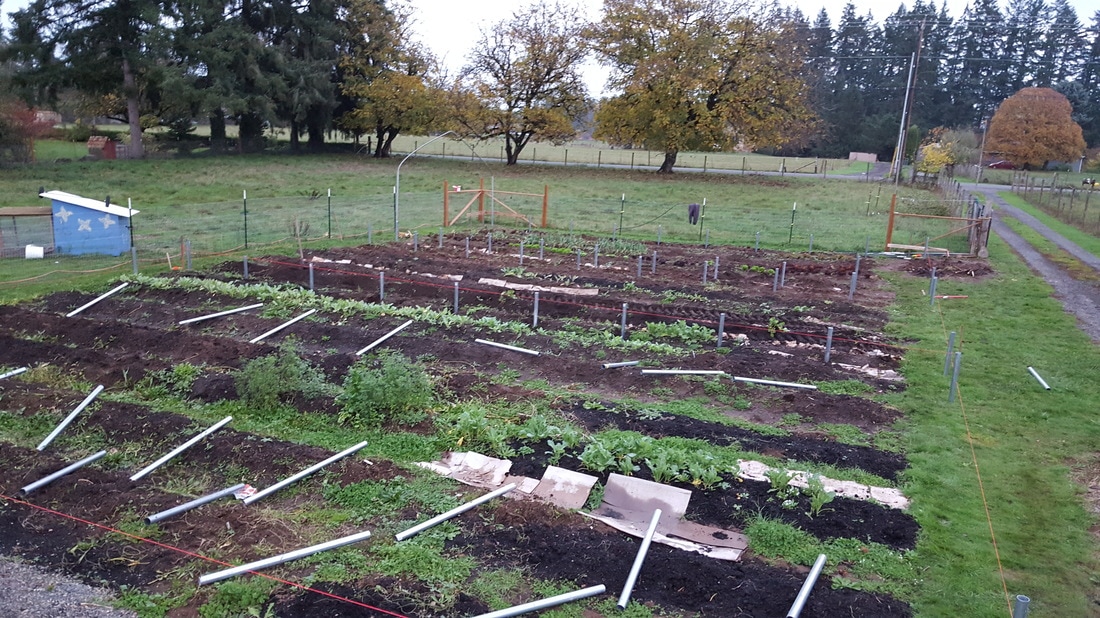 It's always good to square up your corners. All that we've read or watched in videos said there's some play with building high tunnels, but you need to make sure you're squared up before you begin. Time to drive posts into the ground. This corner proved to be very difficult all because of a stubborn hawthorn tree. We spent many evenings with a nice warming fire trying to burn the stump out of the area. We tried sawing it out, cutting it out, pick-axing, and burning. Unfortunately. we couldn't use the tracker or backhoe to dig it out because our power lines run somewhere under all the roots. Too risky. So burning was our solution. An easy trick to ensure proper pipe spacing is to use a long board, this was a scrap piece from one of our old greenhouse door frames. Mark your desired spacing, ours is spaced at five feet, and then cut notches to slide up to your pipes. Quick and easy. Make sure you have a way to pound your posts in so they are plum. The orange post leveler works very well. When driving the posts into the ground a sledge hammer and large bolt work well, but make for a tired body. The bolt is necessary to protect your posts from flaring as you pound them down. Leg posts are placed into the ground posts. We used a string to mark our top height of six feet. Our field has a slight grade change making the ground lower towards the back of the high tunnels. So, the six foot height is set at the fronts of each greenhouse with the backs being slightly higher. Our ground posts are larger than our legs posts, but Tek screws work well to secure the pipes together. A magnet level and clamps come in handy for this part of the job.
0 Comments
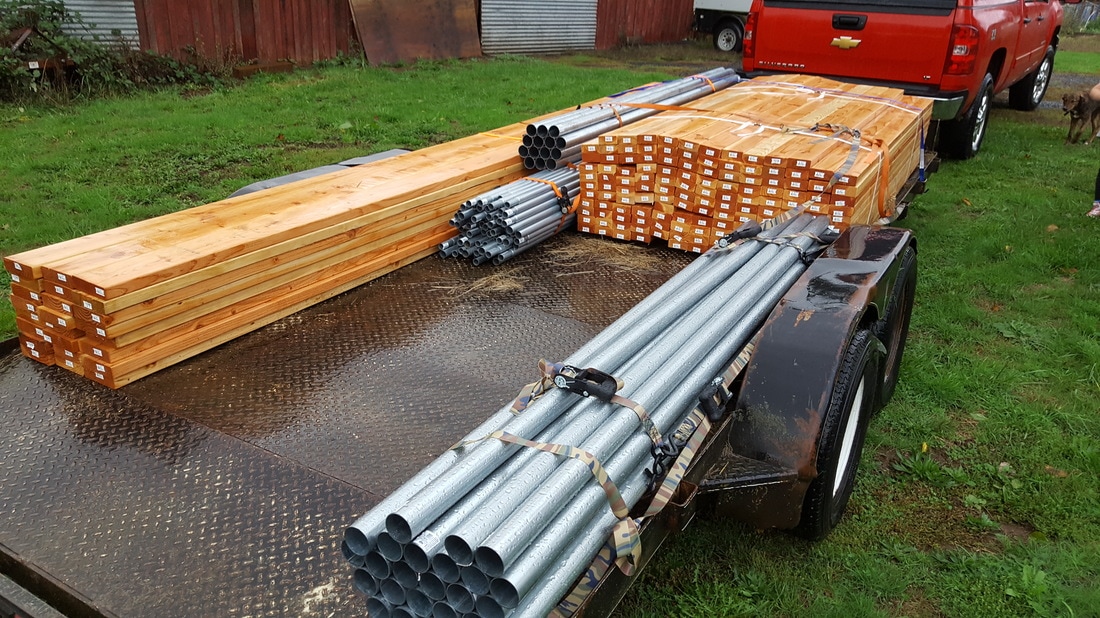
An average trip to Home Depot might last a couple hours, but we were armed with a shopping list that never seems to end. When you're building four 20' x 45' high tunnels there are a lot of materials to remember. This trip included 2"x 6" material for the hip boards, 2" x 4" material for the end walls, and lots of fence pipe for the legs and ground posts. We were very fortunate to get all our bows, wiggle wire track, and wiggle wire from someone on Craigslist. That's a great site as long as you're persistent with your searches and willing to jump before someone else snatches up a great deal.
The original greenhouses (two 20' x 90'), which we disassembled quicker than we thought (one day) had four foot side walls. We decided to extend the side wall height to six foot to ensure enough room a long the edges of the greenhouse for plant growth and walking. |
Archives
July 2017
Categories |


 RSS Feed
