
|
The day finally arrived when we needed the Harbor Freight greenhouse, our aquaponics greenhouse, out of the way. Before we started our huge endeavor on constructing four high tunnels, we had two 10' x 12' Harbor Freight greenhouses in which we ran our aquaponics system through. Due to wind damage, age, and going through a move, the original greenhouse was disassembled and recycled. The one below, for the most part, is in good condition so we through we'd move it somewhere else on the property. To accomplish the task we built a sled out of materials from around the farm and employed the John Deer tractor to move it out of the way. 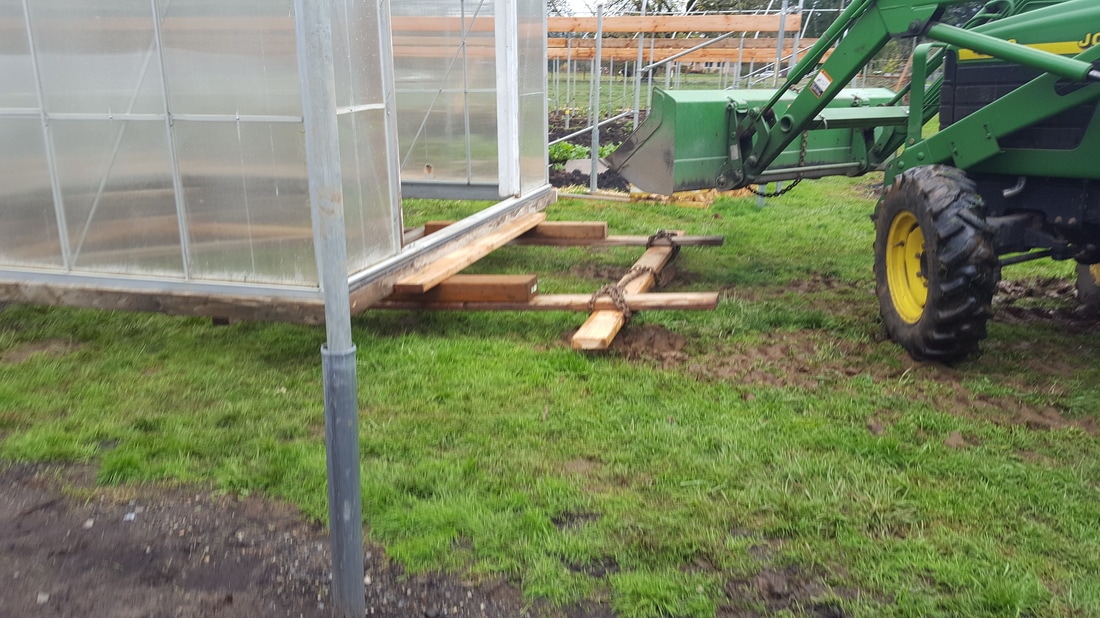 Moving the greenhouse forward went smoothly after we lifted the back end up and over the sump tank. 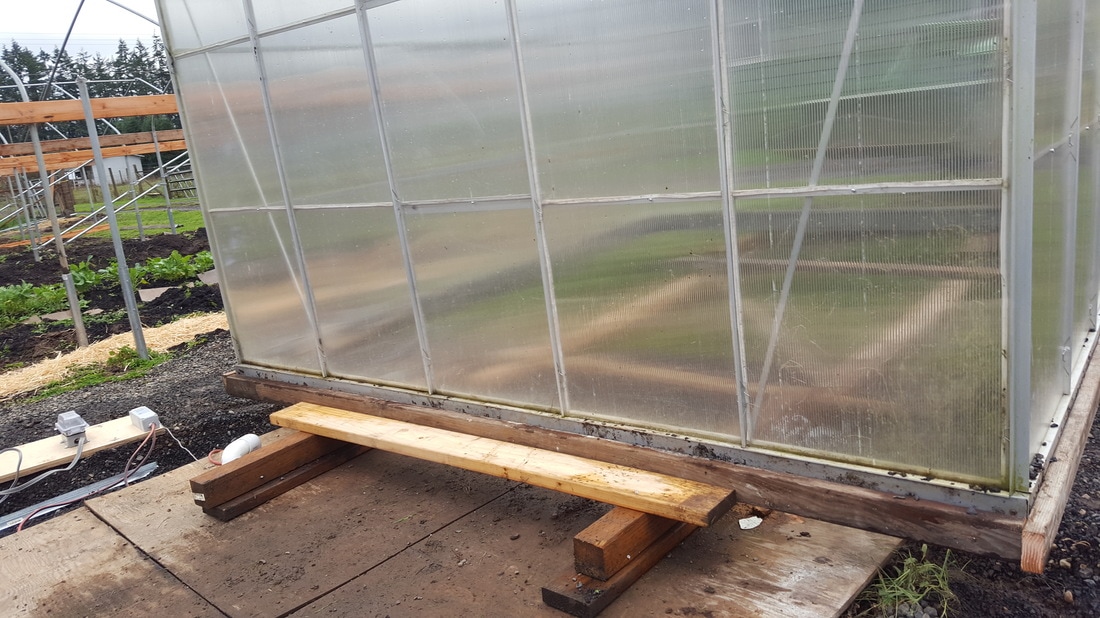 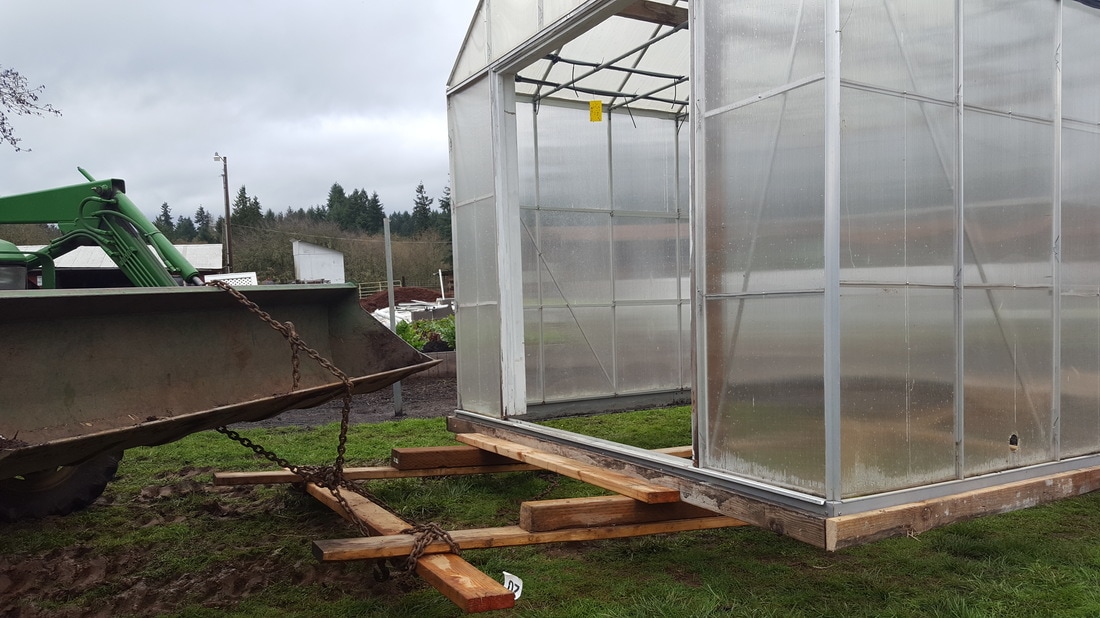  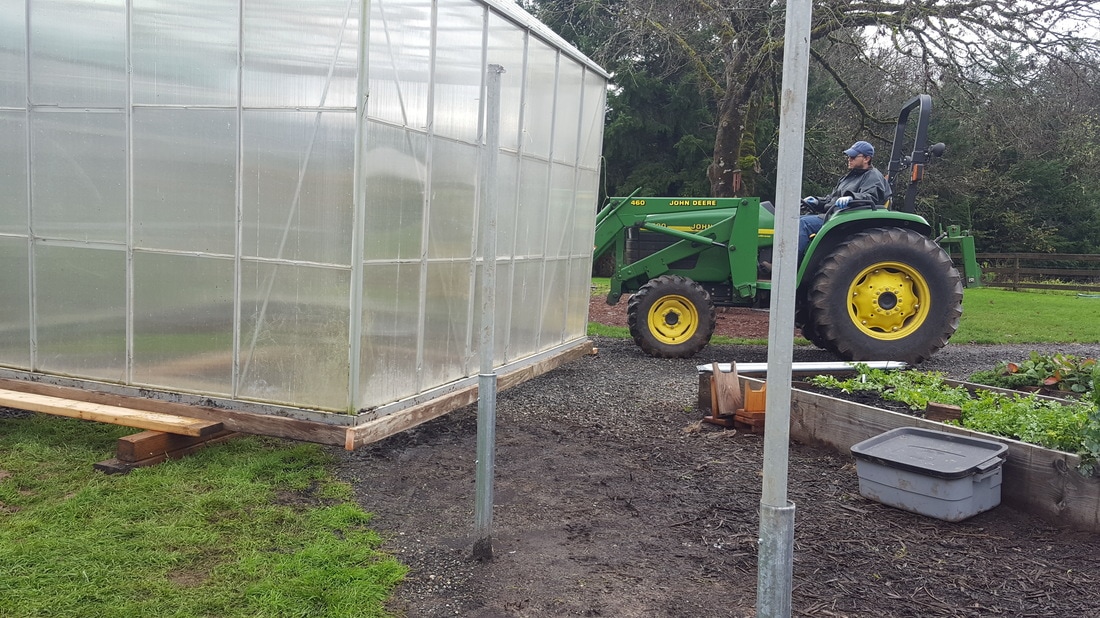 We had to re-position the tractor a few times because this was a tight turn for the greenhouse. 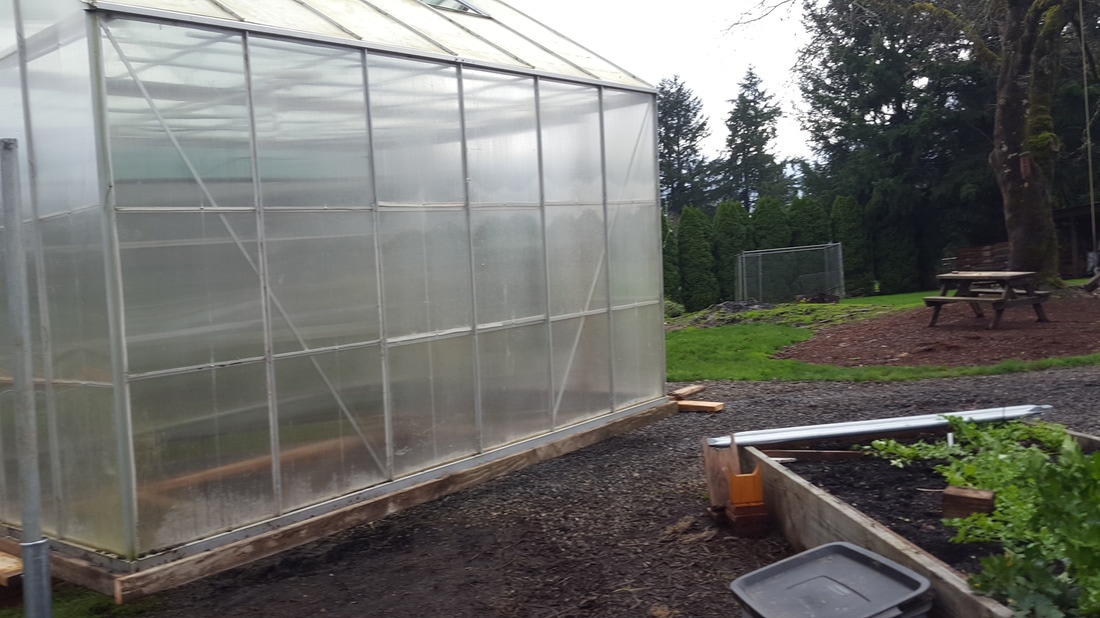 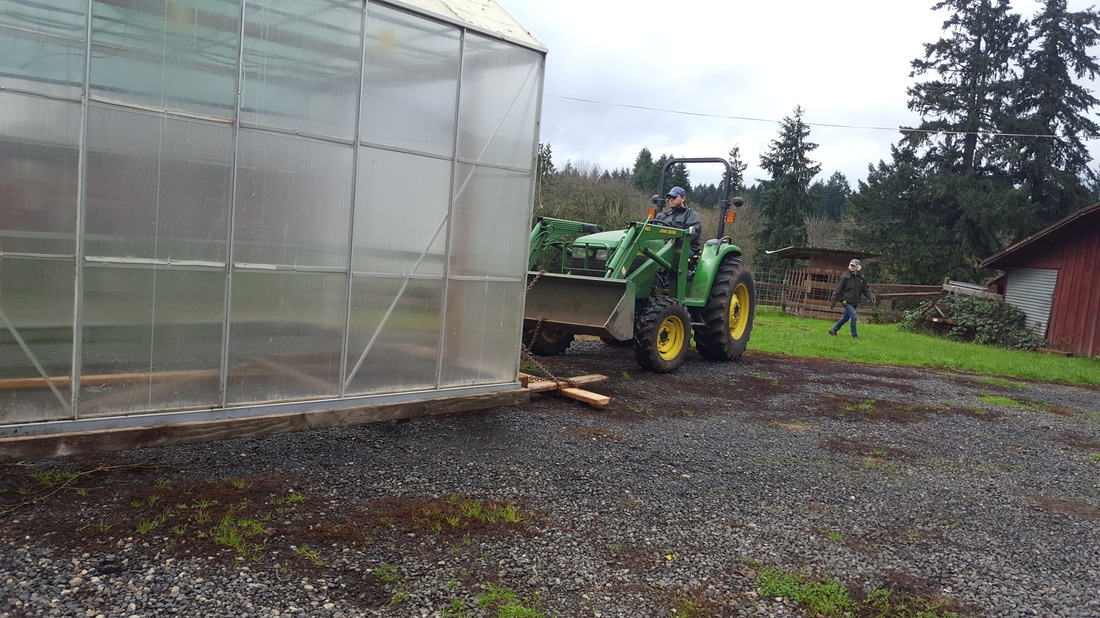 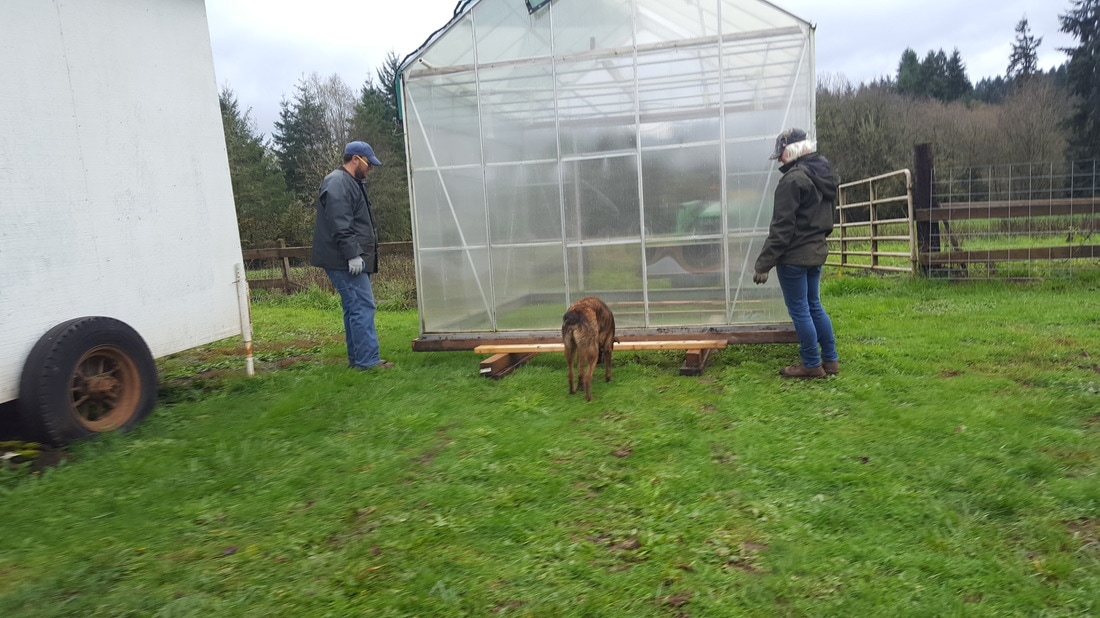
0 Comments
I cannot say that I had much to do with the hip boards other than to move them into place by each greenhouse. This was all the handy, tiring, work of my husband. After a three day weekend, I had to go back to my day job and leave Clint to do all the hard work by himself. This is when clamps came in very handy. He put each board up, leveled them, and secured each 2" x 6" using a 1/4" bolt that was 4" long with nuts and washers. The end bows require longer bolts - 6" - to eventually connect the end walls to the bow/leg.  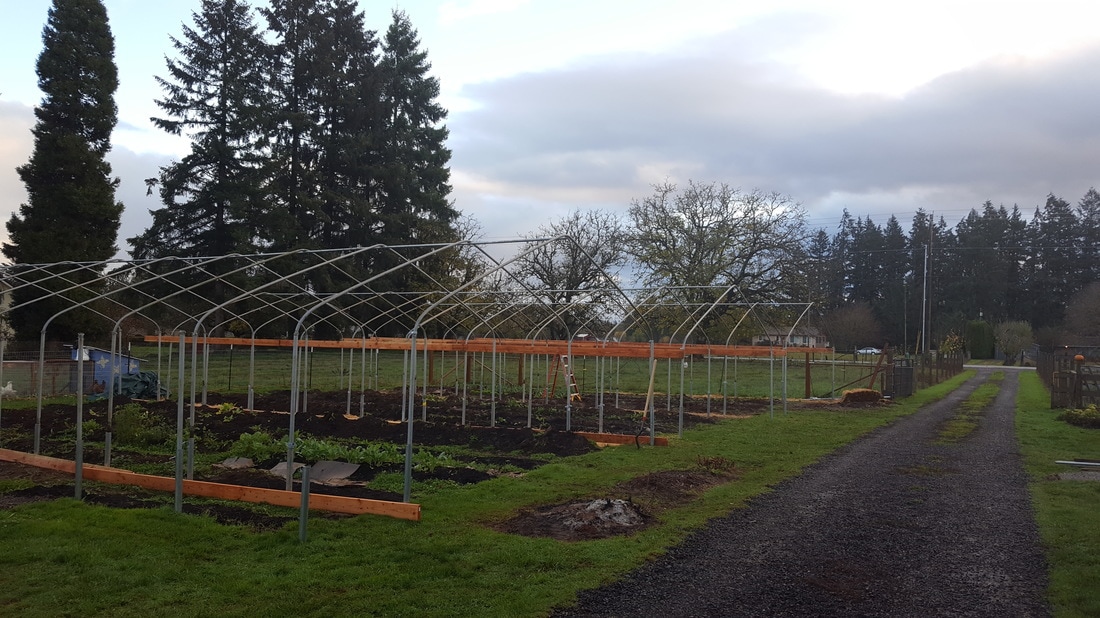 Well putting the bows in took some time since the leg pipe are under pressure. We tried putting each side in at the same time, but eventually concluded that putting one side in and then the other went faster. A rubber mallet works well for this task to help persuade those bows into place. 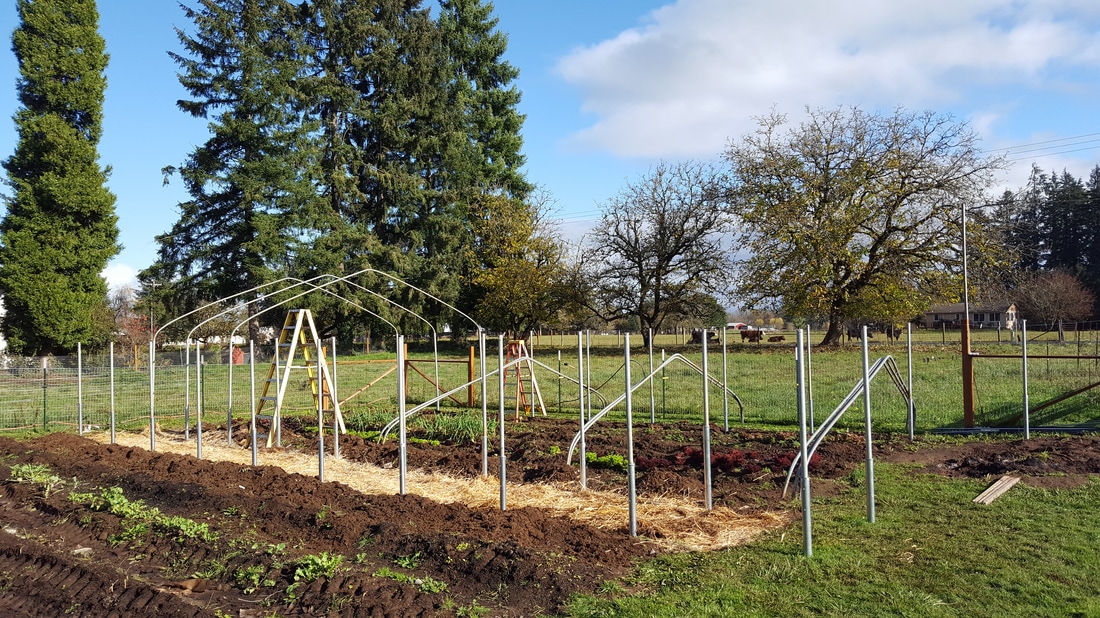 We had a great deal of nice weather but the rain eventually rolled in so we pulled out some straw bales to help control the clay muck. The dirt in the greenhouse will need to be amended to help soil drainage and provide richer soil for our plants. 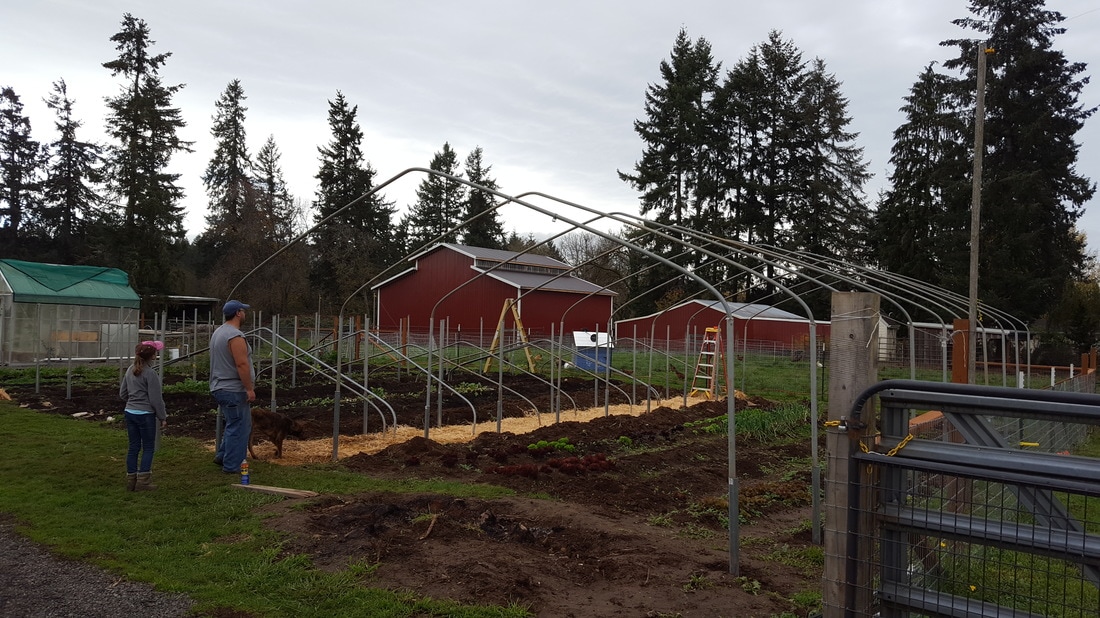 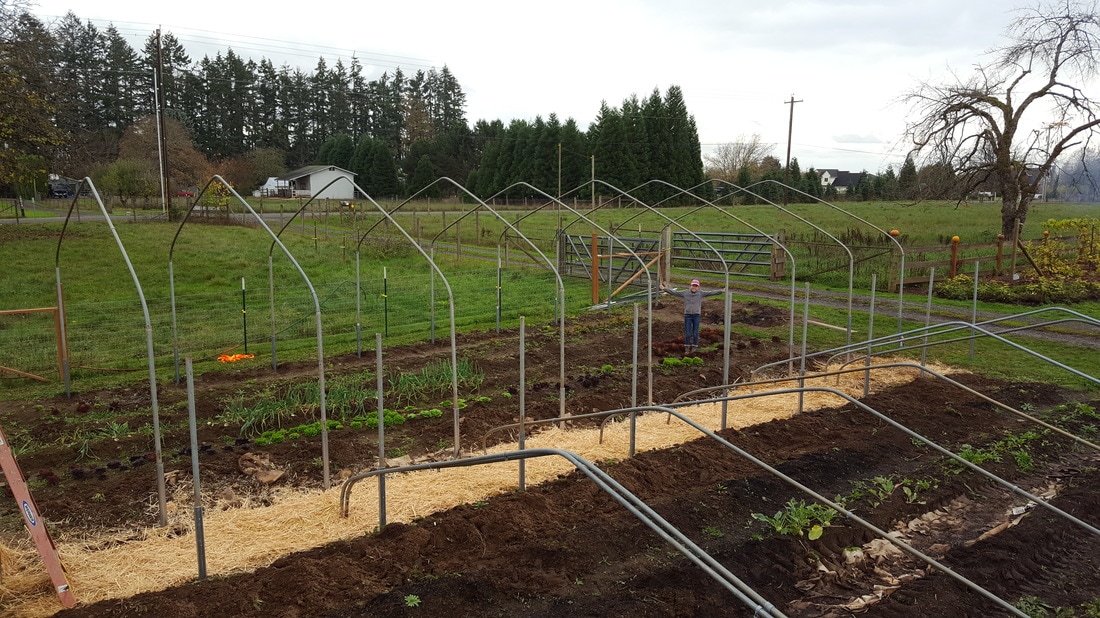 Time for the grinder! Since these are used bows, some additional work needed to be done to make them usable for our project. There were a few bows that we couldn't remove the bolts during the take-down phase, so out came the grinder to speed up the job and smooth out some rough metal. 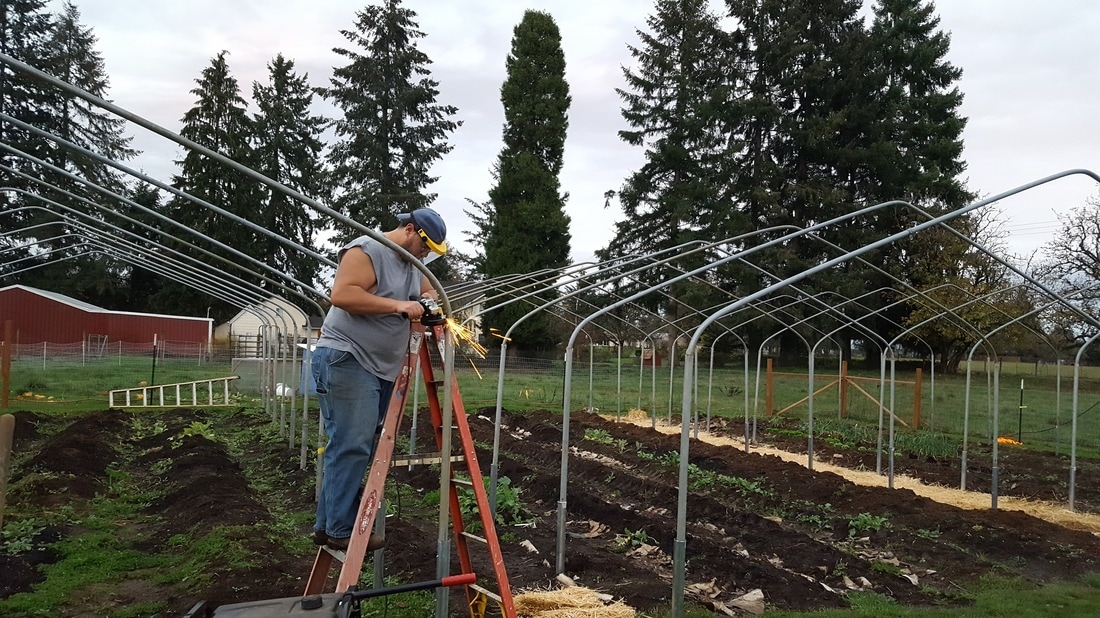 Unfortunately I didn't get any pictures of the purlin pipe being installed but here's what the ridge purlin looks like complete. We used the tracker to accomplish this task. I sat in the bucket with all the tools (drill, Tek screws, purlin clamps) while my husband rolled me back to each connection. Each connection comes together with U shaped purlin clamps and Tek screws to secure the bows and pipe together.  The excess pipe was cut off using the handy sawzall and used on the other two greenhouse purlins. 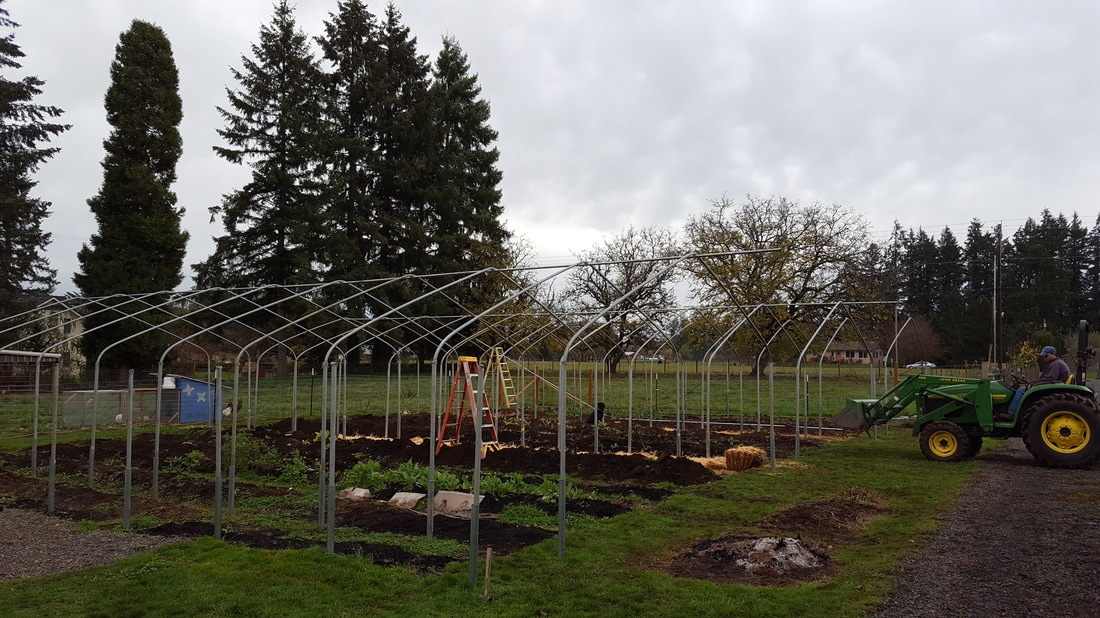 |
Archives
July 2017
Categories |
 RSS Feed
