|
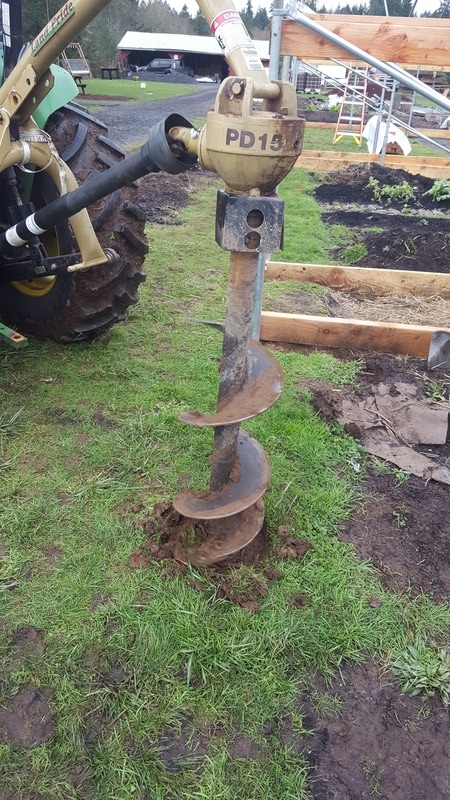
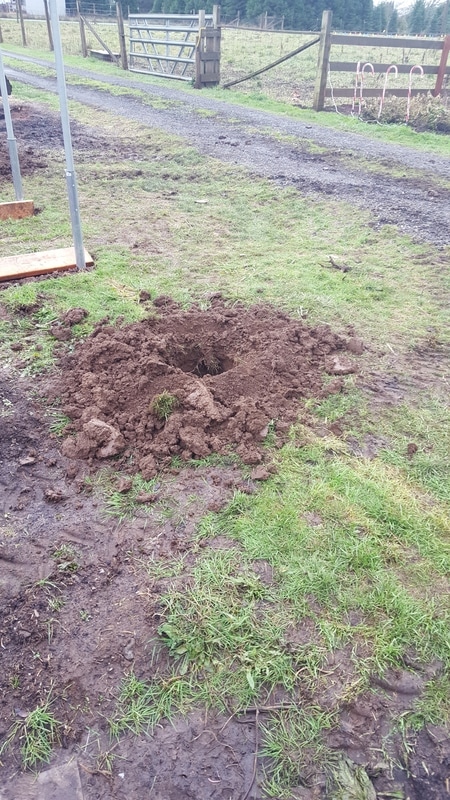
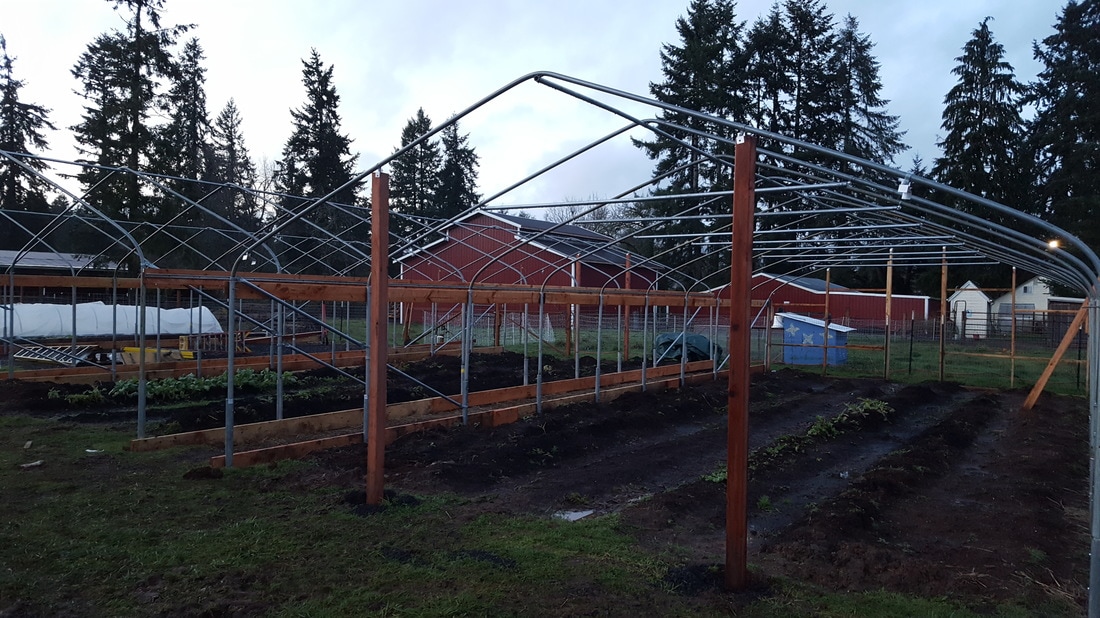
Well, hand digging (with a post hole tool) 16 holes 3 feet deep would have been extremely lengthy. So in steps the tracker and busts out the job! We used 12 foot 4" x 4" posts to frame the door and help secure the end walls.
0 Comments
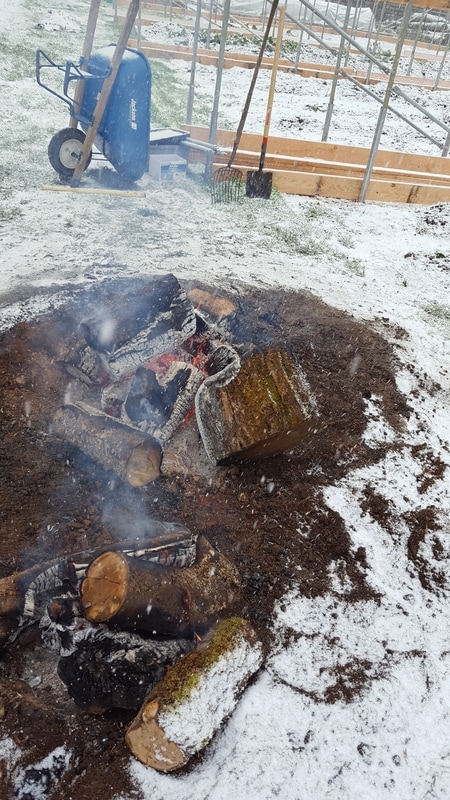
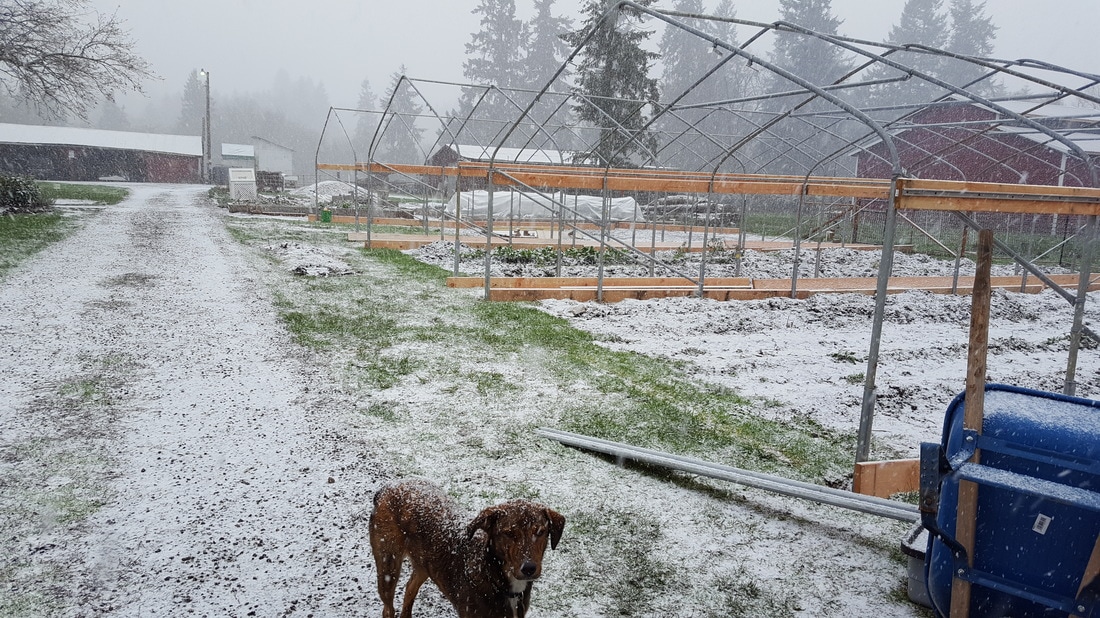
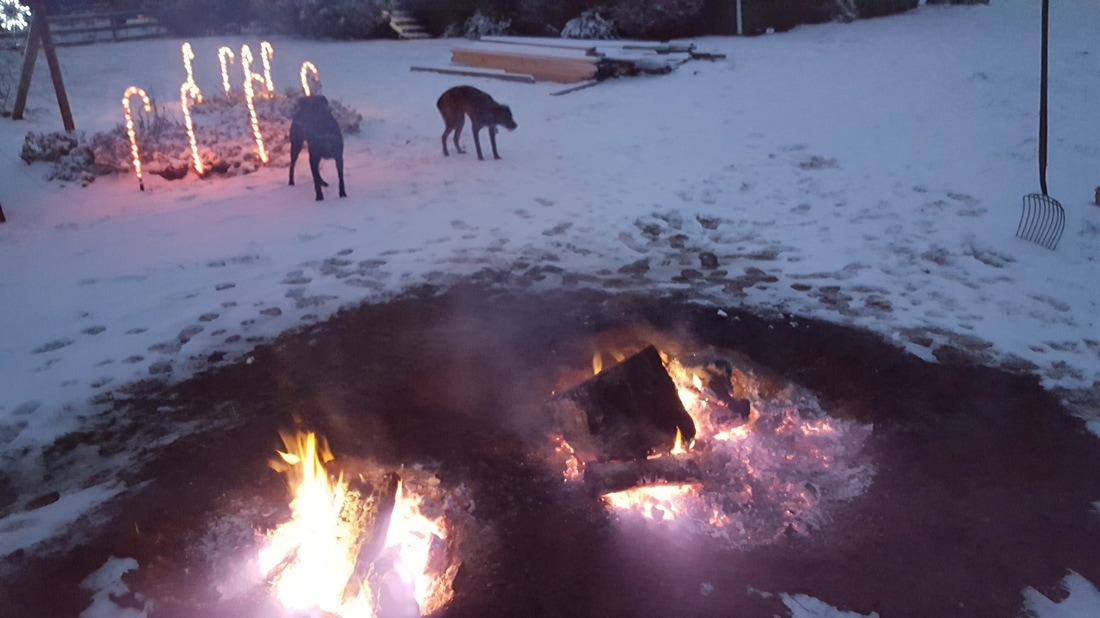
A snow day from school means it's time for a fire. The fires seemed to never end with this stump still in our way. So what a great time to burn up the roots. I love the snow, but it was sure cold on the hands when trying to work on the greenhouses. We kept the fire going for a few days while the snow just stacked up.
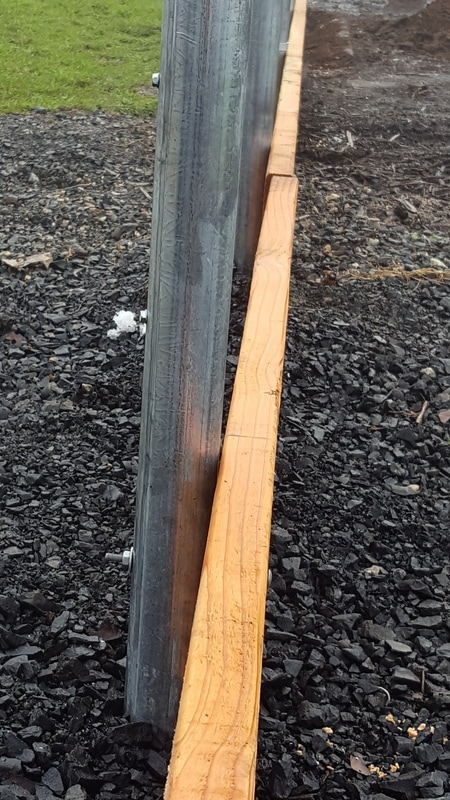
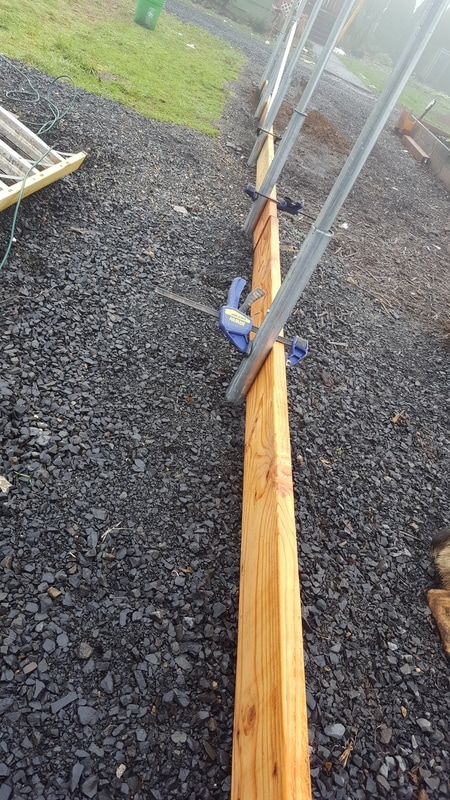
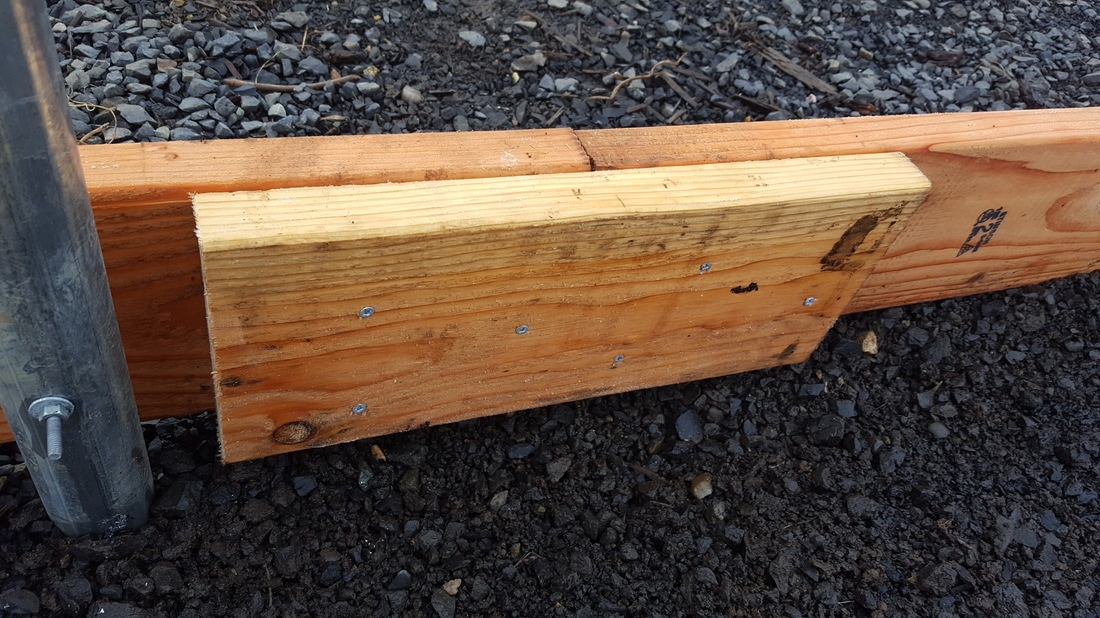
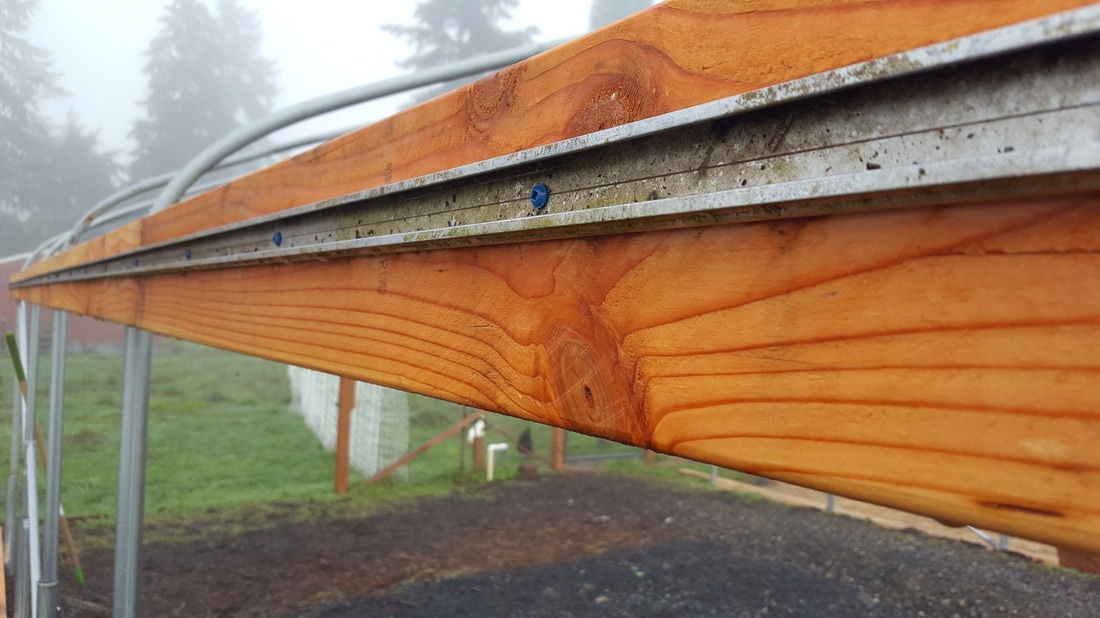
The baseboards are the same materials as the hip boards, 2" x 6" fur. We lined the boards up to the back of the greenhouse and cut the excess off the front. It took three boards to complete this process. Since the baseboards was a task I could do mostly on my own while Clint was at work, clamps where my friend. We used 4" long 1/4" bolts on the posts except the ends. Those required longer 8' bolts that will eventually attach the end walls to the greenhouse frame. It took some time drilling through the metal posts. We found out the best way to accomplish this was to start with a smaller drill bit and work your way up. It took some time switching out drill bits and then removing clamps to drill through the wood (our bits were too short to go all the way through metal and the wood). Due to the grounds slight slope, the back boards are higher and I had to dig out some dirt in the fronts to ensure everything was level. We minimized our waste by using the fall off pieces from the third baseboard as our connections. We placed wiggle wire track along all the hip boards to help secure the plastic.
|
Archives
July 2017
Categories |

 RSS Feed
